A Comprehensive Guide on How to Assemble RTA Cabinets
Introduction
Welcome to the ultimate guide on mastering Ready-to-Assemble (RTA) cabinets, brought to you by Cabinet Distribution. We are not just here to provide insights; we are dedicated to transforming your cabinet assembly into an exceptional journey. RTA cabinets, favored by homeowners and DIY enthusiasts, offer both cost savings and the empowerment to shape your living space.
we go beyond the ordinary, unraveling the secrets to efficient RTA cabinet assembly. It's about crafting a space that seamlessly blends functionality and style. Our guide promises more than just step-by-step instructions; it's an exploration of quality craftsmanship and meticulous attention to detail, exceeding your expectations.
Whether you're a seasoned DIY enthusiast or a homeowner with a keen eye for precision, fasten your seatbelt as we navigate the realm of RTA cabinets together. Your dream space awaits, and we're here to guide you every step of the way.
RTA Cabinet Assembly Tools


Embarking on the journey of assembling and installing your Ready-to-Assemble (RTA) cabinets is an exciting step toward transforming your space. The first step is to gather the necessary cabinet installation tools to ensure a successful installation. These tools not only facilitate the assembly process but also play a vital role in achieving a professional and secure cabinet installation.
The attention to detail in acquiring and using the right tools ensures that cabinet assembly goes effortlessly but also stands as a testament to your meticulous craftsmanship. So, gather your tools, dive into the assembly process, and watch your space transform into a functional and aesthetically pleasing haven.
- Tape Measure
- Pencil
- Stud Finder
- Hammer and Finishing Nails
- Clamps
- Drill or Screwdriver
- Drill Bits
- Level
Assembling ready-to-assemble (RTA) cabinets is a straightforward and rewarding process, allowing homeowners to actively create their ideal kitchen or storage space. Before starting the assembly, carefully read and familiarize yourself with the instructions, ensuring you have all the necessary tools and hardware.
Typically, RTA cabinets come with pre-drilled holes and labeled parts, simplifying the assembly process. Start with the cabinet base and work up, securely attaching sides, back panels, and shelves. Pay attention to the alignment and use the included hardware, such as screws and cam locks, to ensure a sturdy construction. Consider using a power drill for ease and efficiency, but exercise caution to avoid over-tightening.
Assemble doors and drawers separately before attaching them to the cabinet frame. Once all components are securely in place, double-check for any loose connections and make necessary adjustments. Following these steps will result in a professionally assembled RTA cabinet that enhances your space with functionality and aesthetic appeal.
Efficient Assembly Process
Assembling RTA cabinets is a straightforward yet rewarding process, allowing homeowners to actively shape their ideal kitchen or storage space. Begin by thoroughly reading and familiarizing yourself with the instructions. RTA cabinets typically come with pre-drilled holes and labeled parts, simplifying the assembly process.
Start with the cabinet base, progressing to sides, back panels, and shelves. Pay meticulous attention to alignment, using included hardware like screws and cam locks for a sturdy construction. Assemble doors and drawers separately before attaching them to the cabinet frame. A power drill can expedite the process, but caution is paramount to avoid over-tightening.
How to Assemble RTA Cabinets
- Gather Tools, Record Measurements with Tape Measure, & Take Detailed Notes
- Consult Kitchen Diagram & Note Obstacles
- Inspect Cabinets When They Arrive
- Use Additional Support
- Label Cabinets, Locate Studs, & Put RTA Cabinets Together


Initiate the process of assembling and installing your Ready-to-Assemble (RTA) cabinets by first ensuring you have the necessary tools. Utilize a tape measure to record precise measurements, and employ a pencil to mark these measurements on the wall for easy reference. Start by measuring the highest point of the floor where the cabinets will sit, proceeding to calculate the perimeter horizontally and then vertically. Note any irregular angles or features in the space, crucial for accommodating cabinetry and trim.
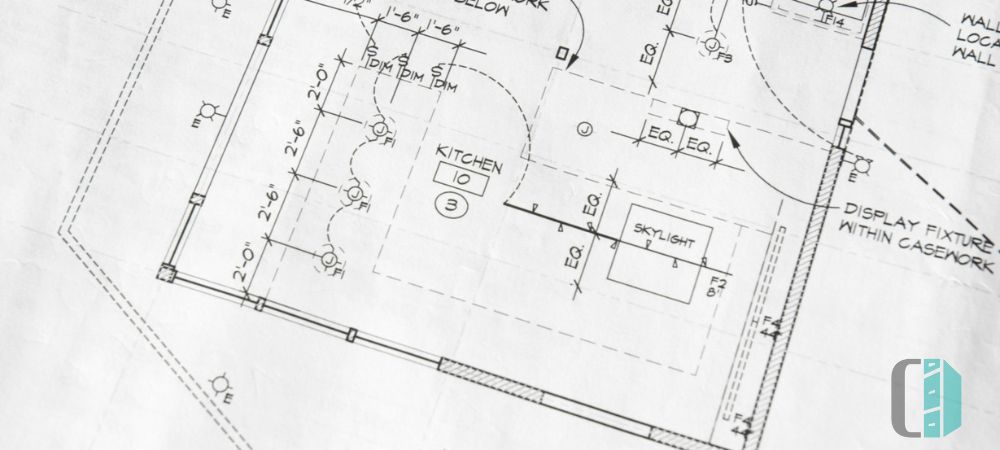

Next, draw a line 20 inches higher than the first one to mark the highest point where the cabinets will be placed. Consult your kitchen design diagram to identify the locations for each RTA cabinet, and meticulously measure electrical outlets, plumbing, and wiring positions for optimal functionality.
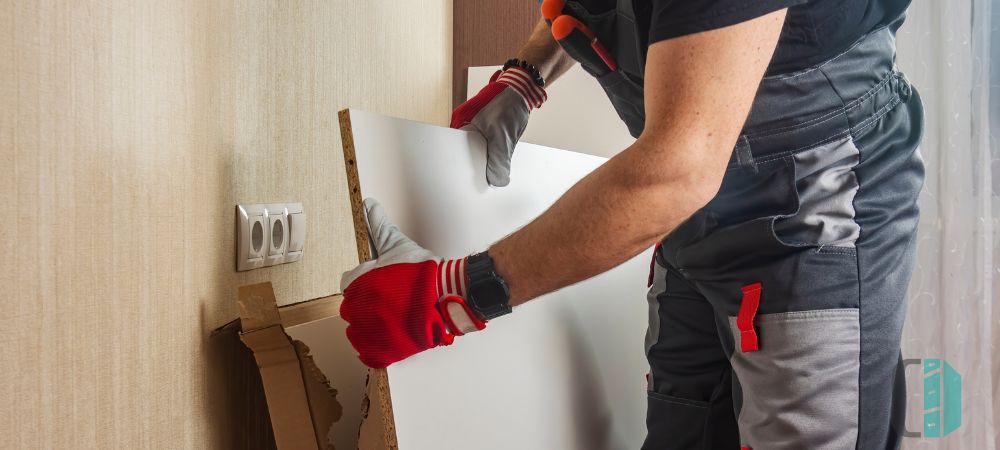

Before diving into cabinet assembly, check your ordered cabinets for any damage incurred during transit or manufacturing. Addressing any imperfections before installation ensures a flawless outcome. Once satisfied, proceed to the following steps.
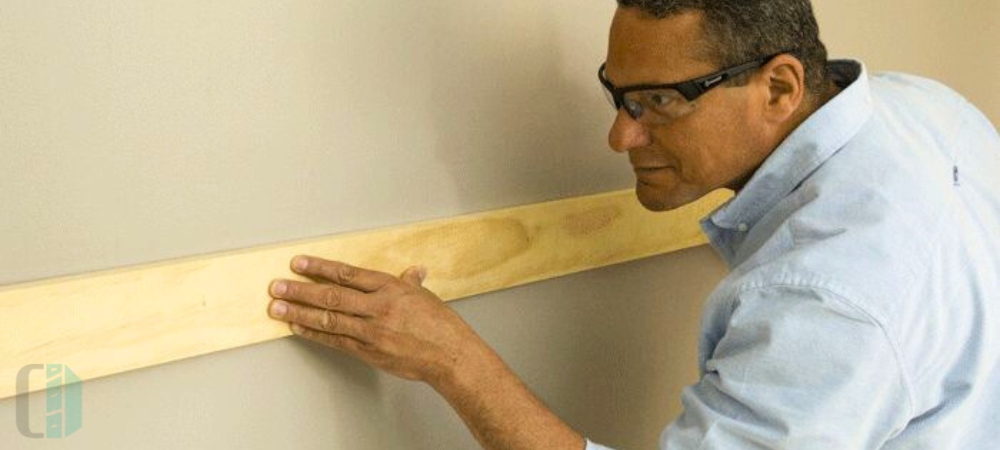

Utilize a ledger board to support the weight of the RTA cabinets during installation, ensuring stability and a consistent height. This temporary support structure aids in precise adjustments before permanent fixing, contributing to a polished finished look.
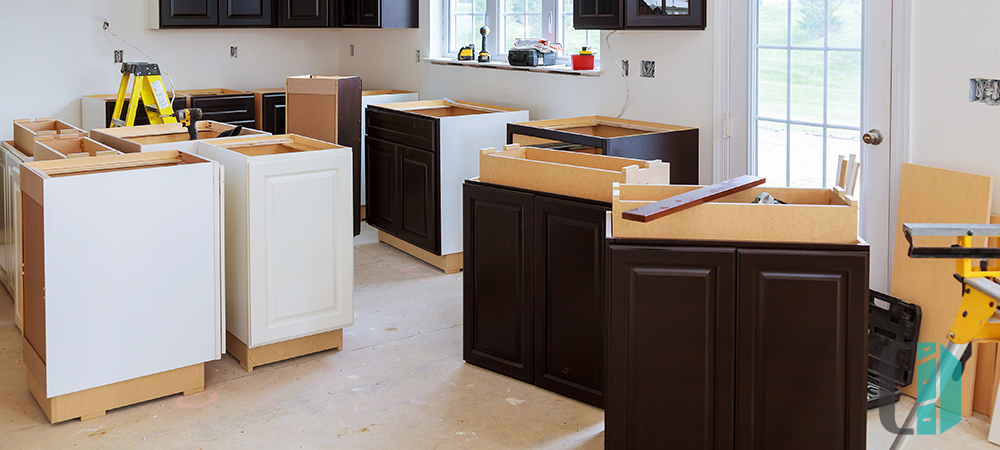

Hang up wall cabinets by preparing them with proper labeling, marking left and right doors, and ensuring drawers are labeled according to their placement. Use a stud finder to locate and keep studs in the wall before drilling screws. Begin with corner cabinets, using a ledger board to ensure straight hanging. Transfer stud locations to subsequent cabinets, clamp them securely, and adjust as needed. Fasten cabinets together using screws for stability.
Partner with Cabinet Distribution
Our mission at Cabinet Distribution is to empower you with the knowledge and resources to create the kitchen of your dreams. From design inspiration to practical tips, we're here to support your journey. We take pride in offering high-quality RTA kitchen cabinets crafted from premium materials at the best possible price. Plus, we provide lightning-fast shipping (in 3 business days) so you can start your dream kitchen remodel ASAP!
Cabinet Distribution's commitment to quality ensures that your cabinets look stunning and stand the test of time, enduring the rigors of daily use. We have the perfect cabinets whether you're looking for a sleek, modern aesthetic or a more traditional look. We recognize that every kitchen is unique. We can accommodate your requests for particular dimensions, storage solutions, or special finishes.
We offer Free Kitchen Design services and are proud to provide those interested with sample cabinet doors. This way, you can be 100% satisfied with your material choices and create a unique kitchen to your design style and lifestyle! Plus, our experts can guide you through the entire process.
Conclusion
As you embark on your RTA cabinet assembly journey, remember that attention to detail and a systematic approach are your best allies. From carefully following the assembly instructions to ensuring a level installation, each step contributes to the overall success of your project.
At Cabinet Distribution, we understand the importance of a well-crafted, functional space, and we're thrilled to be part of your home improvement adventure. We hope this guide has armed you with the knowledge and confidence to assemble your RTA cabinets effortlessly.


